반응형

Dataset
- CMS dataset https://redivis.com/datasets/ye2v-6skh7wdr7

- 회원 가입 후 해당 자료 무료 다운로드 가능 (아래의 8개 테이블만 사용)

Enviroments
- OS: Window 11
- PostgreSQL: 16.4 https://www.enterprisedb.com/downloads/postgres-postgresql-downloads

- PostgreSQL 설치할 때 pgAdmin도 함께 설치
Create Database

- pgAdmin 에서 데이터베이스 마우스 우클릭 Create > Database
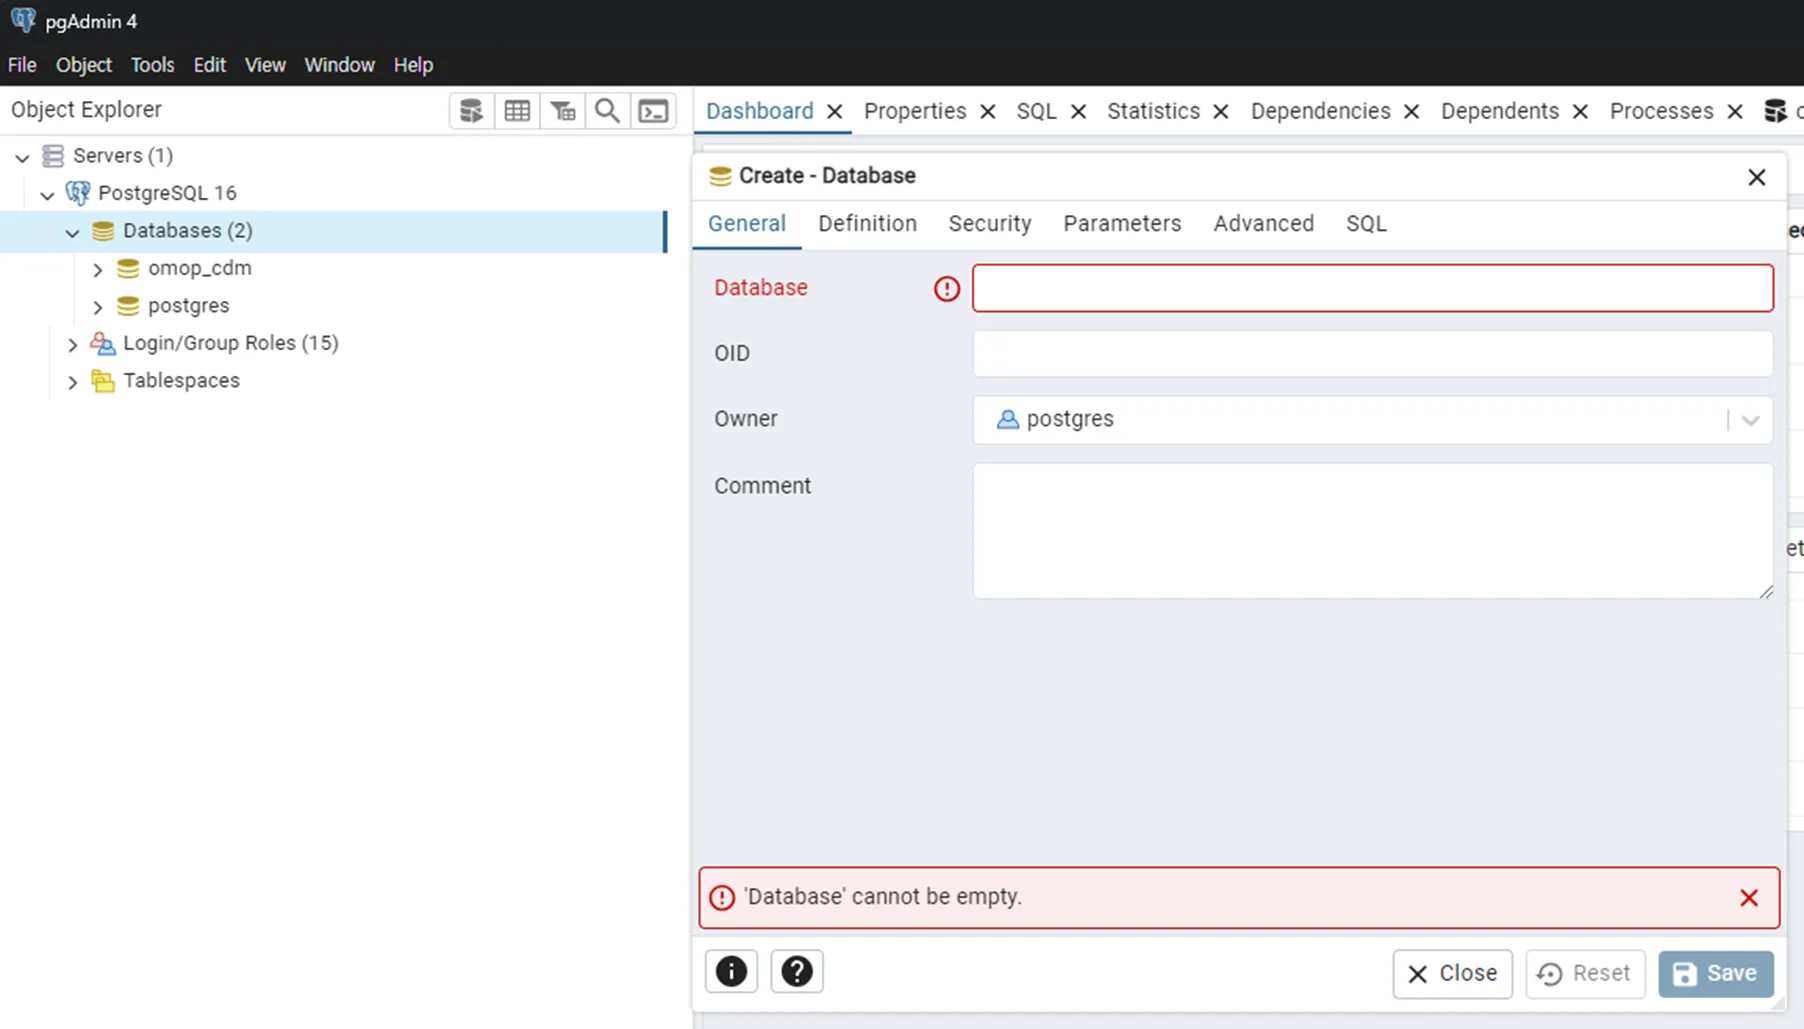
- Database name: ex) omop
Create Table (column name and type)

- Tables에서 마우스 우클릭 Create > Table

- Table name: ex) condition_era

- column name & datatype 필수
- CMS 테이블 설명하는 페이지 참고하여 작성


Import from csv files

- Table 마우스 우클릭 Import/Export Data…
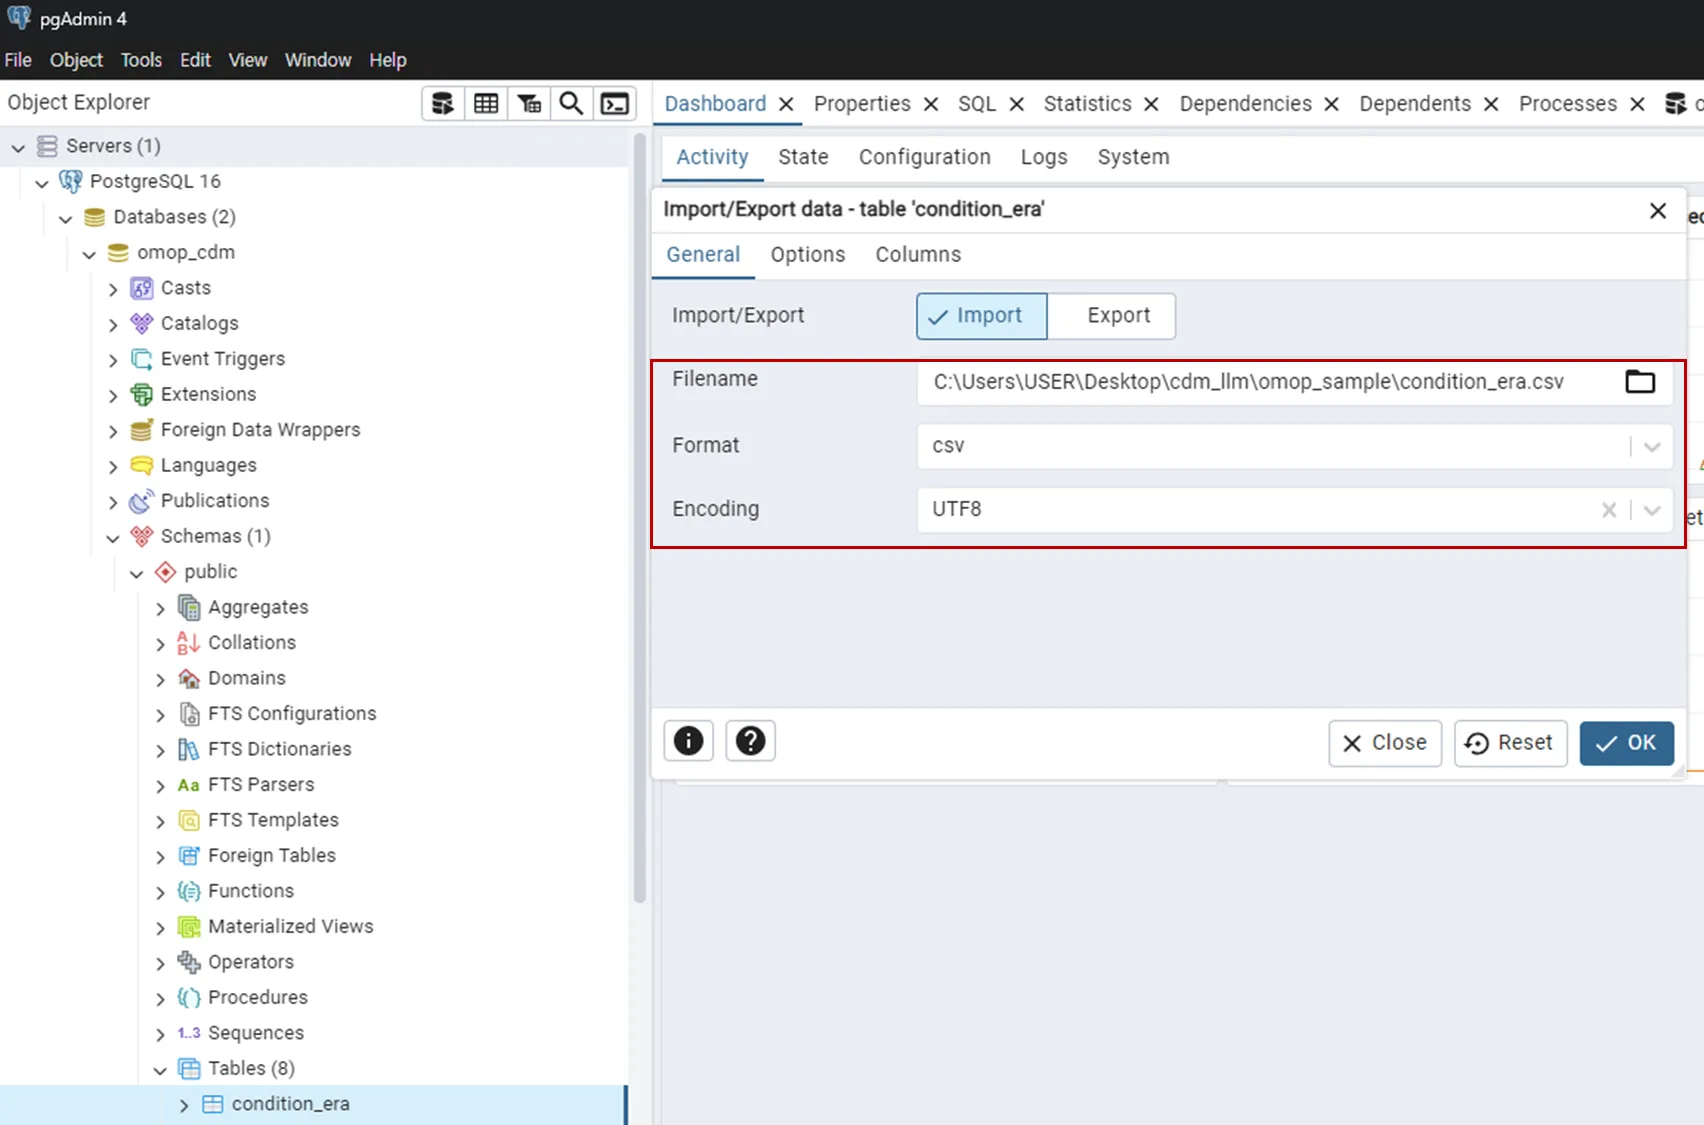
- 파일 선택 & encoding

- Header 옵션 선택

- column 선택 가능
Check process

- Processes 탭에서 상태 확인가능
Check SQL

- Query Tool 에서 확인


SELECT
    table_schema,
    table_name,
    column_name,
    data_type,
    is_nullable,
    column_default
FROM
    information_schema.columns
WHERE
    table_schema = 'public'  -- 원하는 스키마 이름으로 변경
ORDER BY
    table_name,
    ordinal_position;
Query in Python
import psycopg2
import pandas as pd

def execute_query(query, host='localhost', port=5432, database='omop_cdm', user='postgres', password='user'):
    try:
        # 데이터베이스 연결
        connection = psycopg2.connect(
            host=host,
            port=port,
            database=database,
            user=user,
            password=password
        )

        # pandas를 사용하여 쿼리 실행 및 결과 가져오기
        df = pd.read_sql_query(query, connection)

        return df

    except psycopg2.Error as e:
        print("데이터베이스 에러:", e)
        return None

    finally:
        if 'connection' in locals() and connection:
            connection.close()

sql = "SELECT * FROM condition_era limit 10;"
result_df = execute_query(sql)
result_df


